Import Schedule
1 Go to Console -> Schedule -> Schedule Import -> Import
Go to the Schedule -> Schedule Import -> Import page. We recommend first clicking Download Excel Template and filling in the schedule data according to the template format. The "Excel Format Description" on the page lists all fields (academic year/term, course code, course name, teacher, classroom, weeks, periods, campus, and so on — 22 fields in total) and whether each is required.
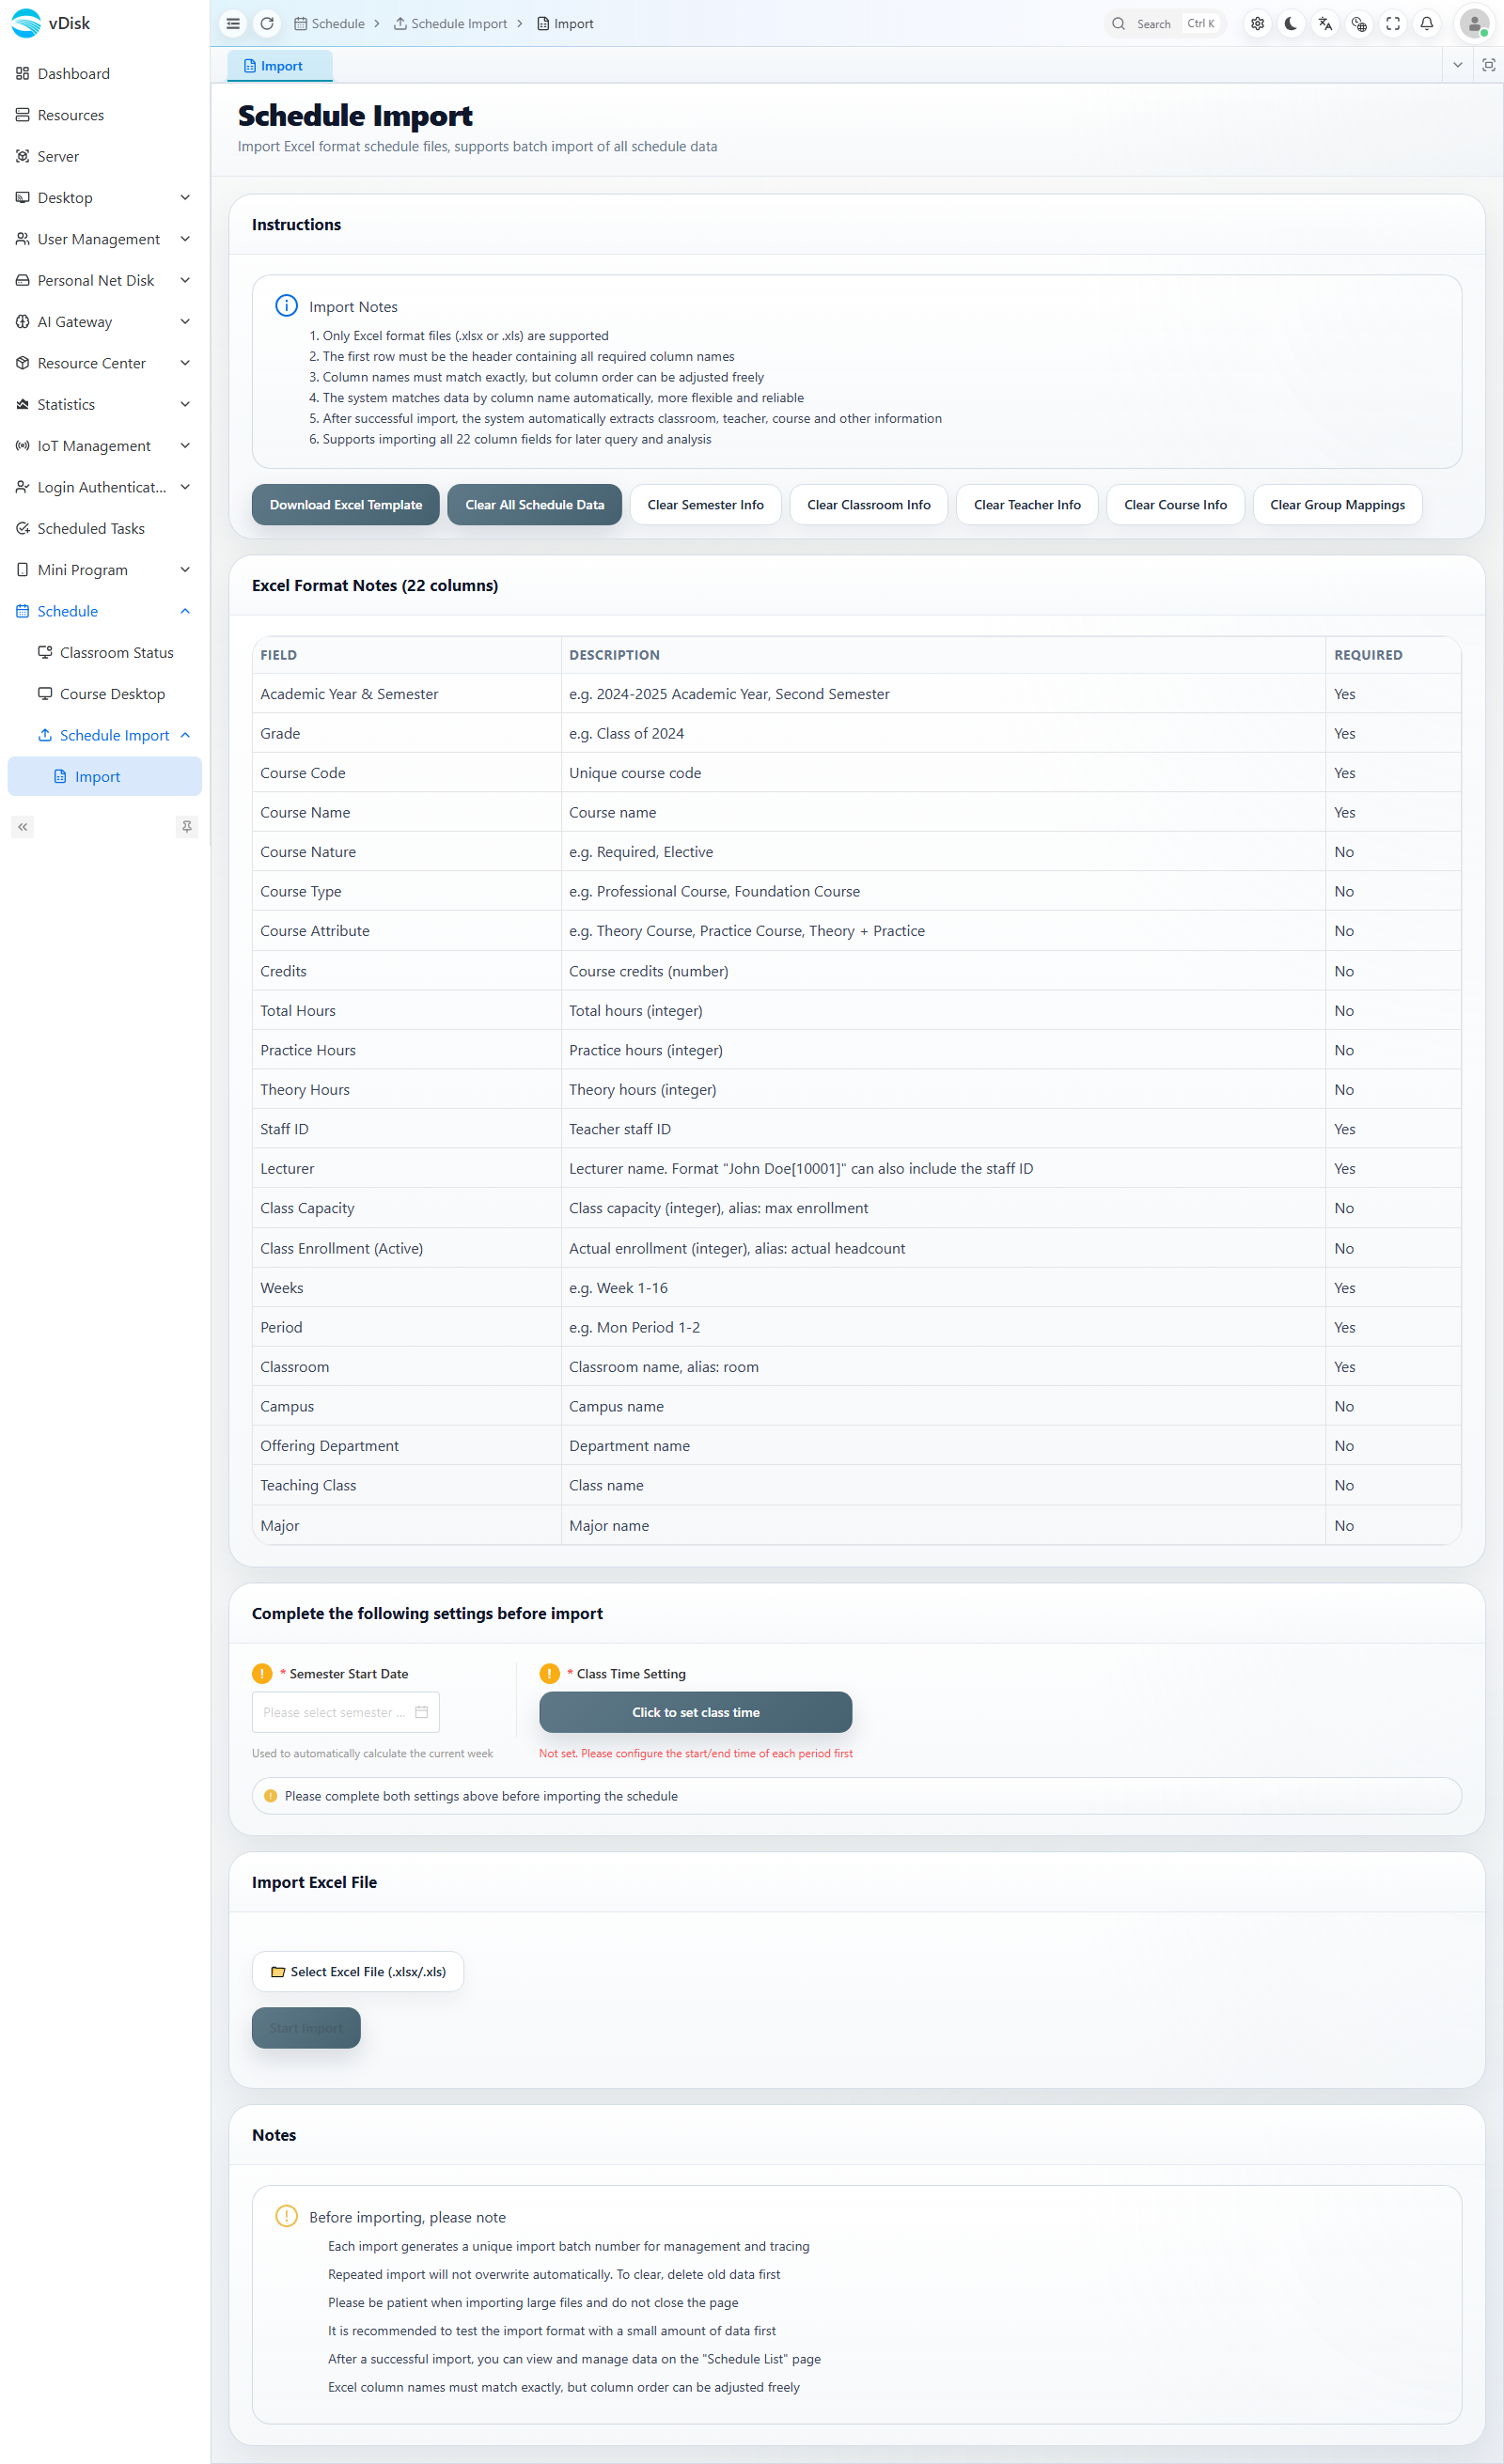
Two settings must be completed before importing:
Semester Start Date: All schedule-driven plans calculate the week number based on this date, so it must be filled in correctly.
Class Time Setting: Click "Click to set class time" to configure the start and end times of each period.
Then click Select Excel File, choose the completed template file, and click Start Import to finish.
The top of the page also provides buttons to clear various types of data (clear all schedules / terms / classrooms / teachers / course info / group mappings), making it easy to clean up old data before re-importing.
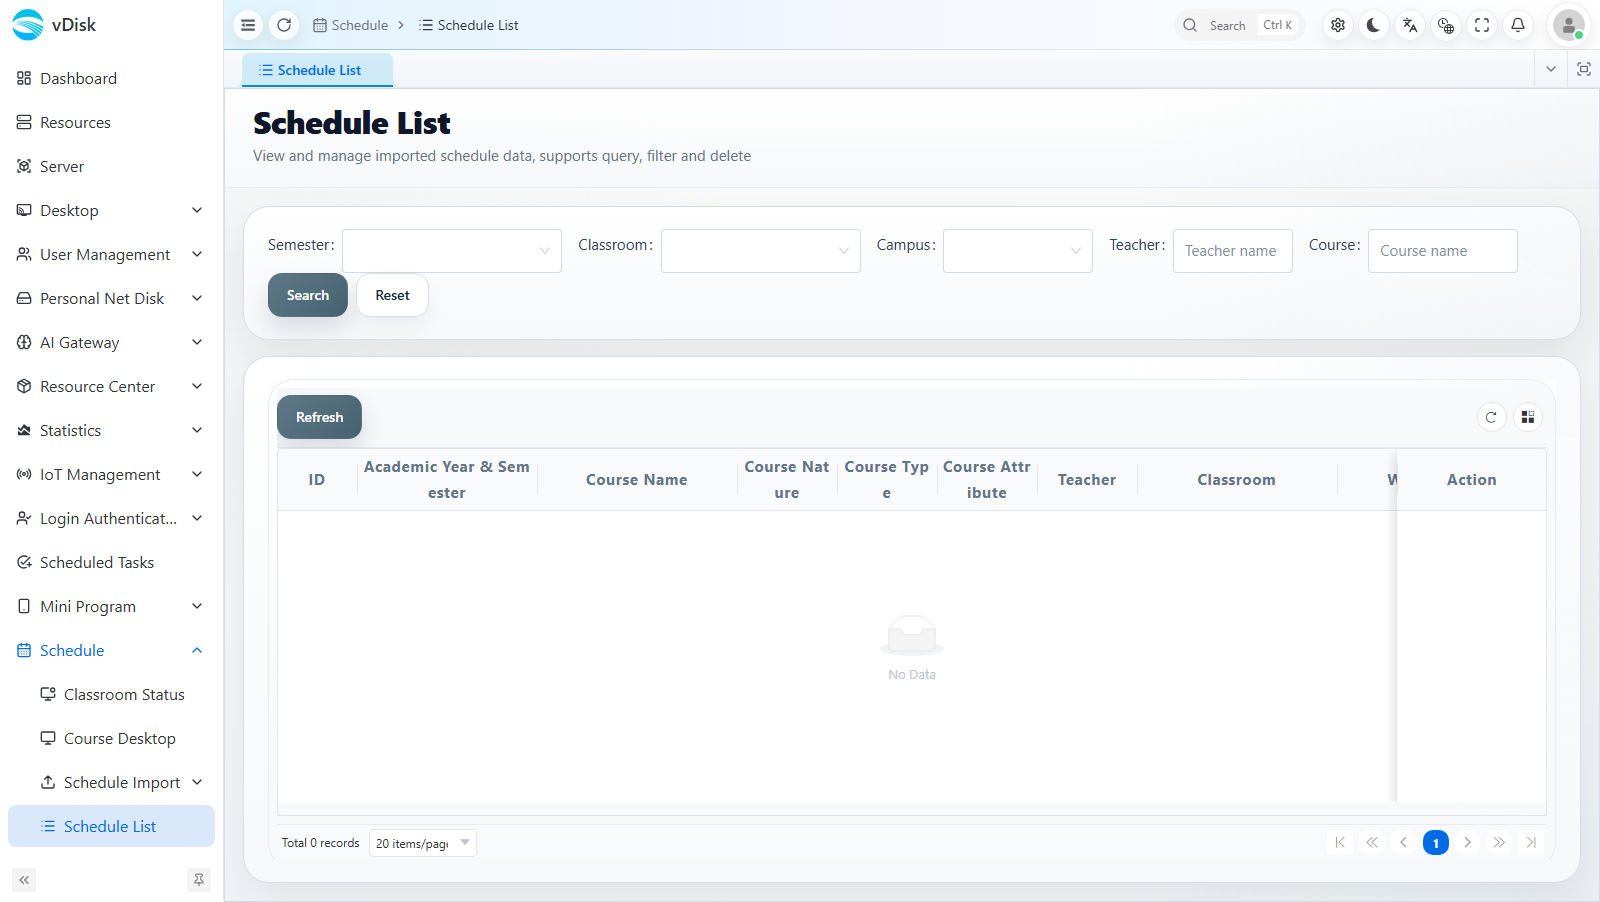
2 After a successful import, you can query the imported schedule in the schedule list
Go to Schedule -> Schedule List, where you can query, filter, and manage all imported schedule records by term, classroom, campus, teacher, course, and other criteria.
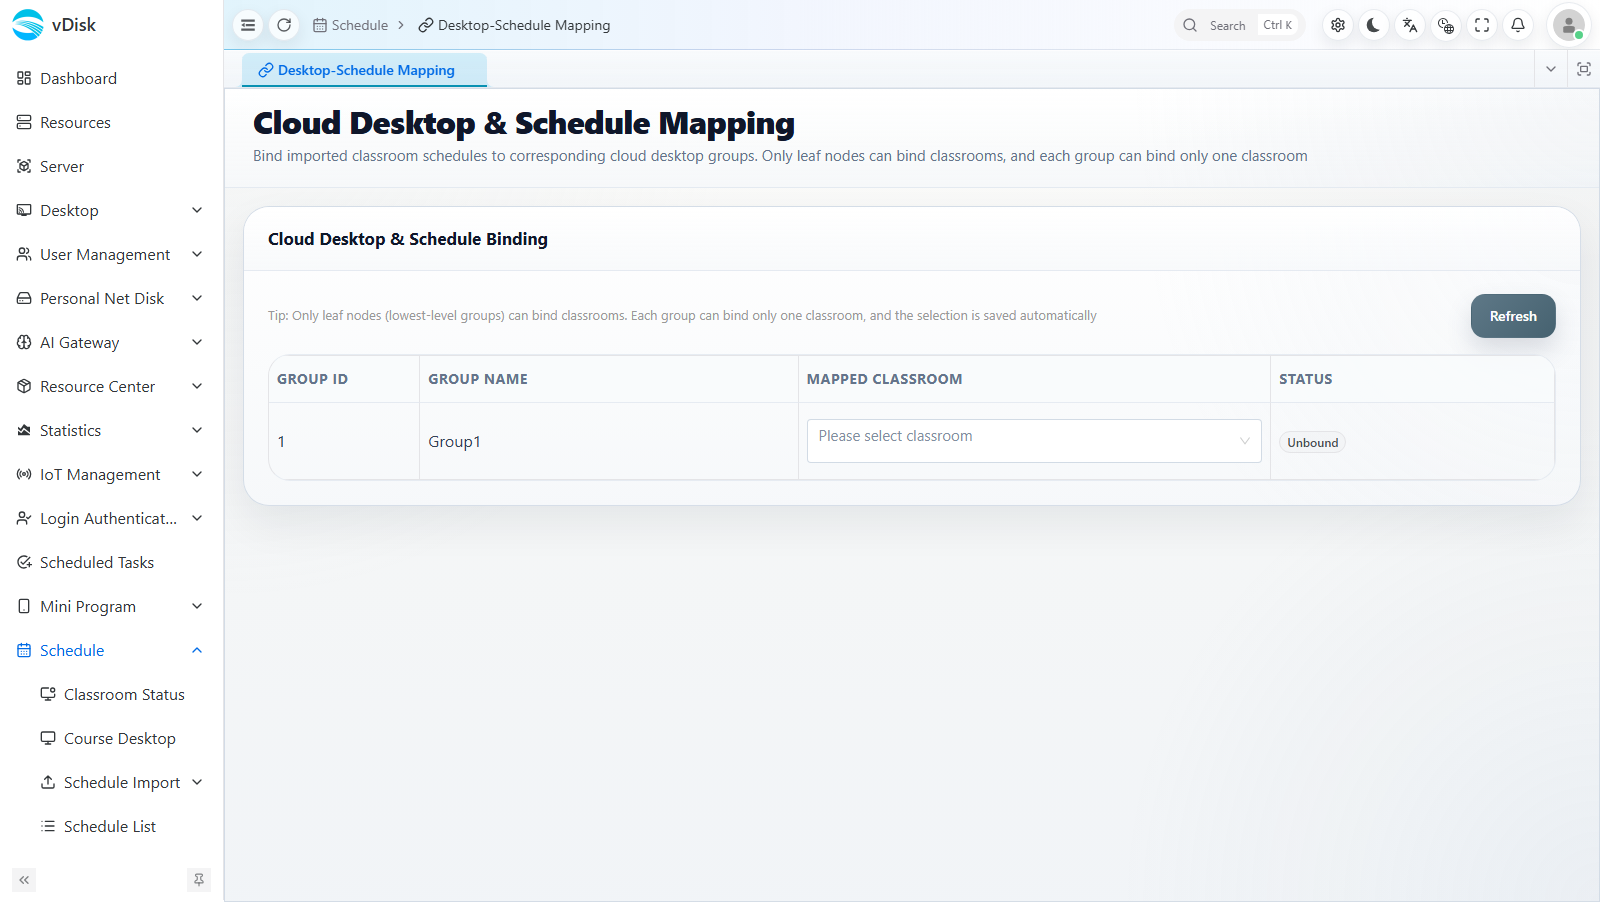
3 Set the classroom mapping between cloud desktops and the academic schedule
Go to Schedule -> Desktop-Schedule Mapping and bind each cloud desktop group to its corresponding classroom in the academic schedule. Only after this binding is complete can a group be automatically operated according to that classroom's schedule.
4 Query the classroom schedule
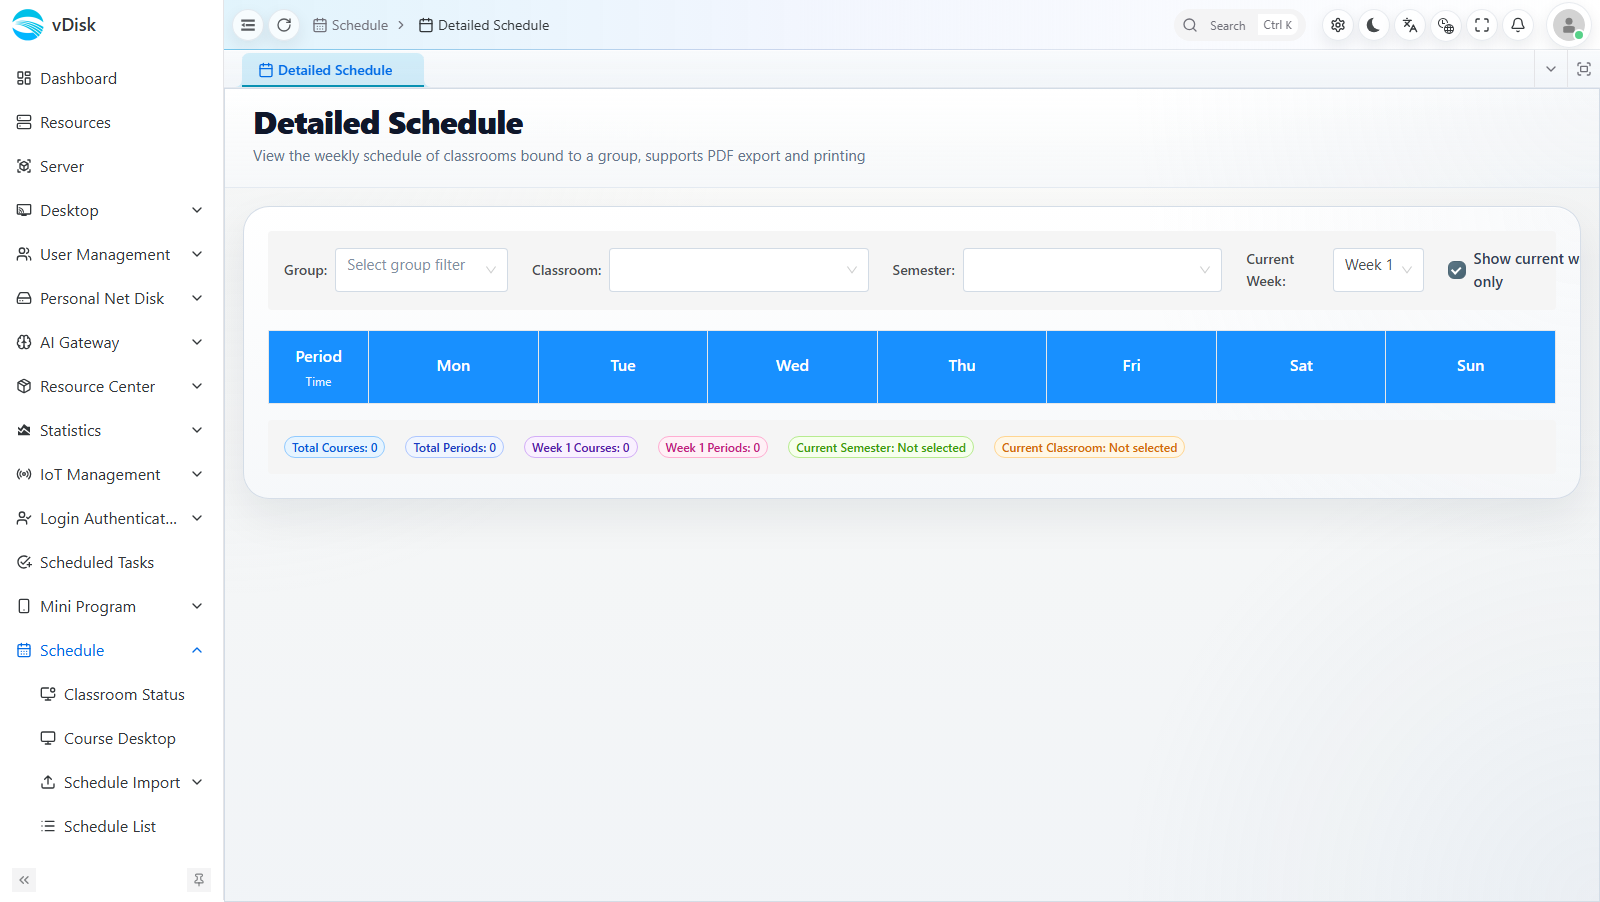
Go to Schedule -> Detailed Schedule, select the group, classroom, and term, and you can view the complete schedule for that classroom in a weekly view, with support for PDF export and printing.