How to Update Data: Linux Client (incl. Xinchuang)
New update method: use the 10888 web console on the client itself to "enter update → make changes → commit update". The old
enterUpdate/leaveupdatecommands are no longer needed. The whole flow is graphical, with a changelog, and works the same on Xinchuang clients.
1) Open the client management web console
In a browser on the client machine itself, open:
http://localhost:10888The console listens only on the loopback address (127.0.0.1). It can only be opened on the client itself; external networks cannot connect — safe and secure.
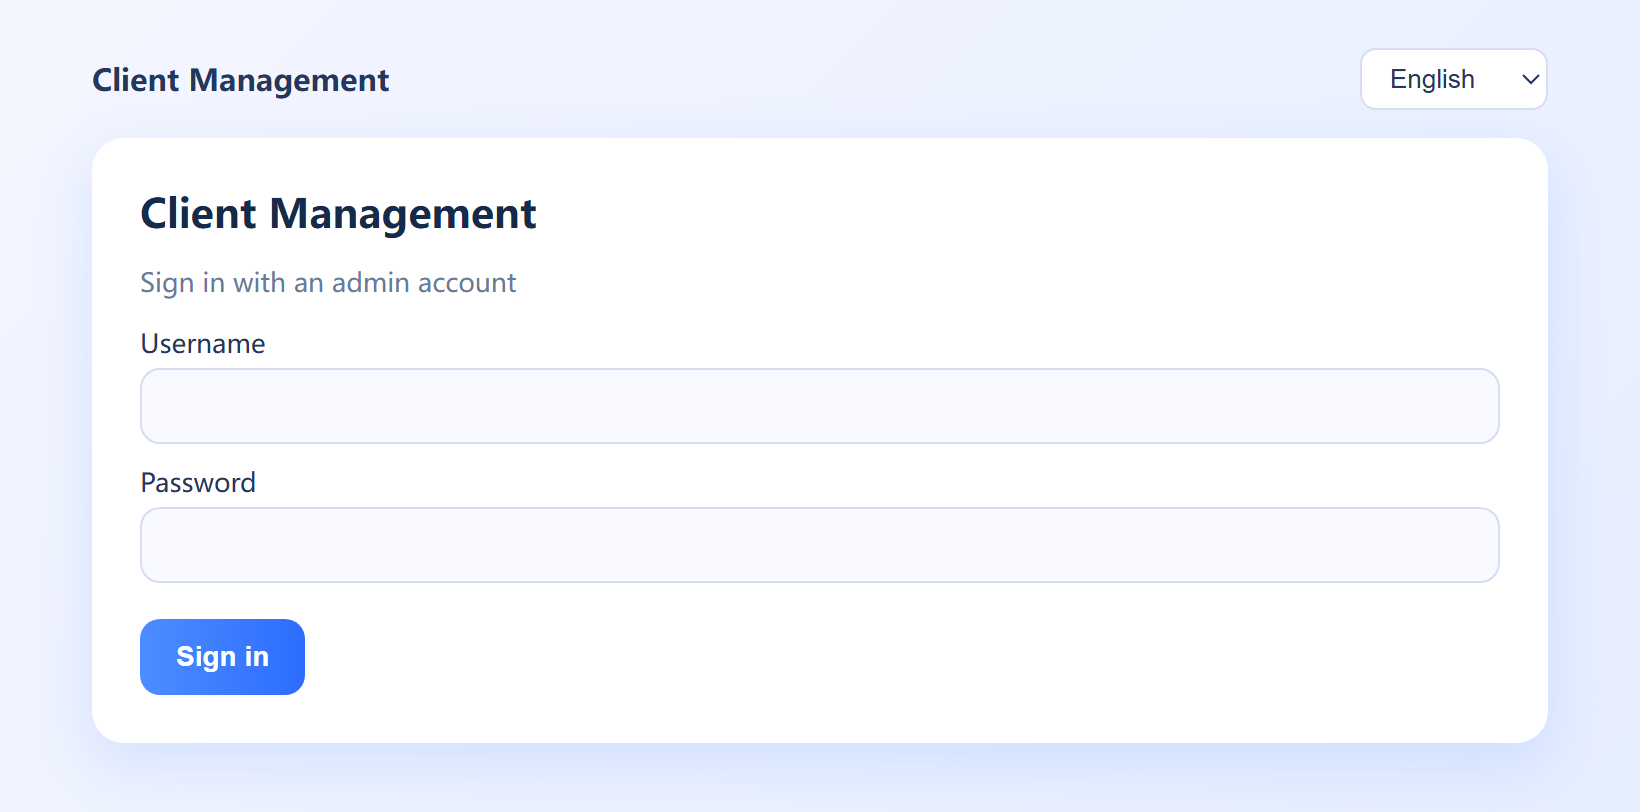
Sign in with an admin account (default admin / 123456):
2) Enter update mode (Update desktop)
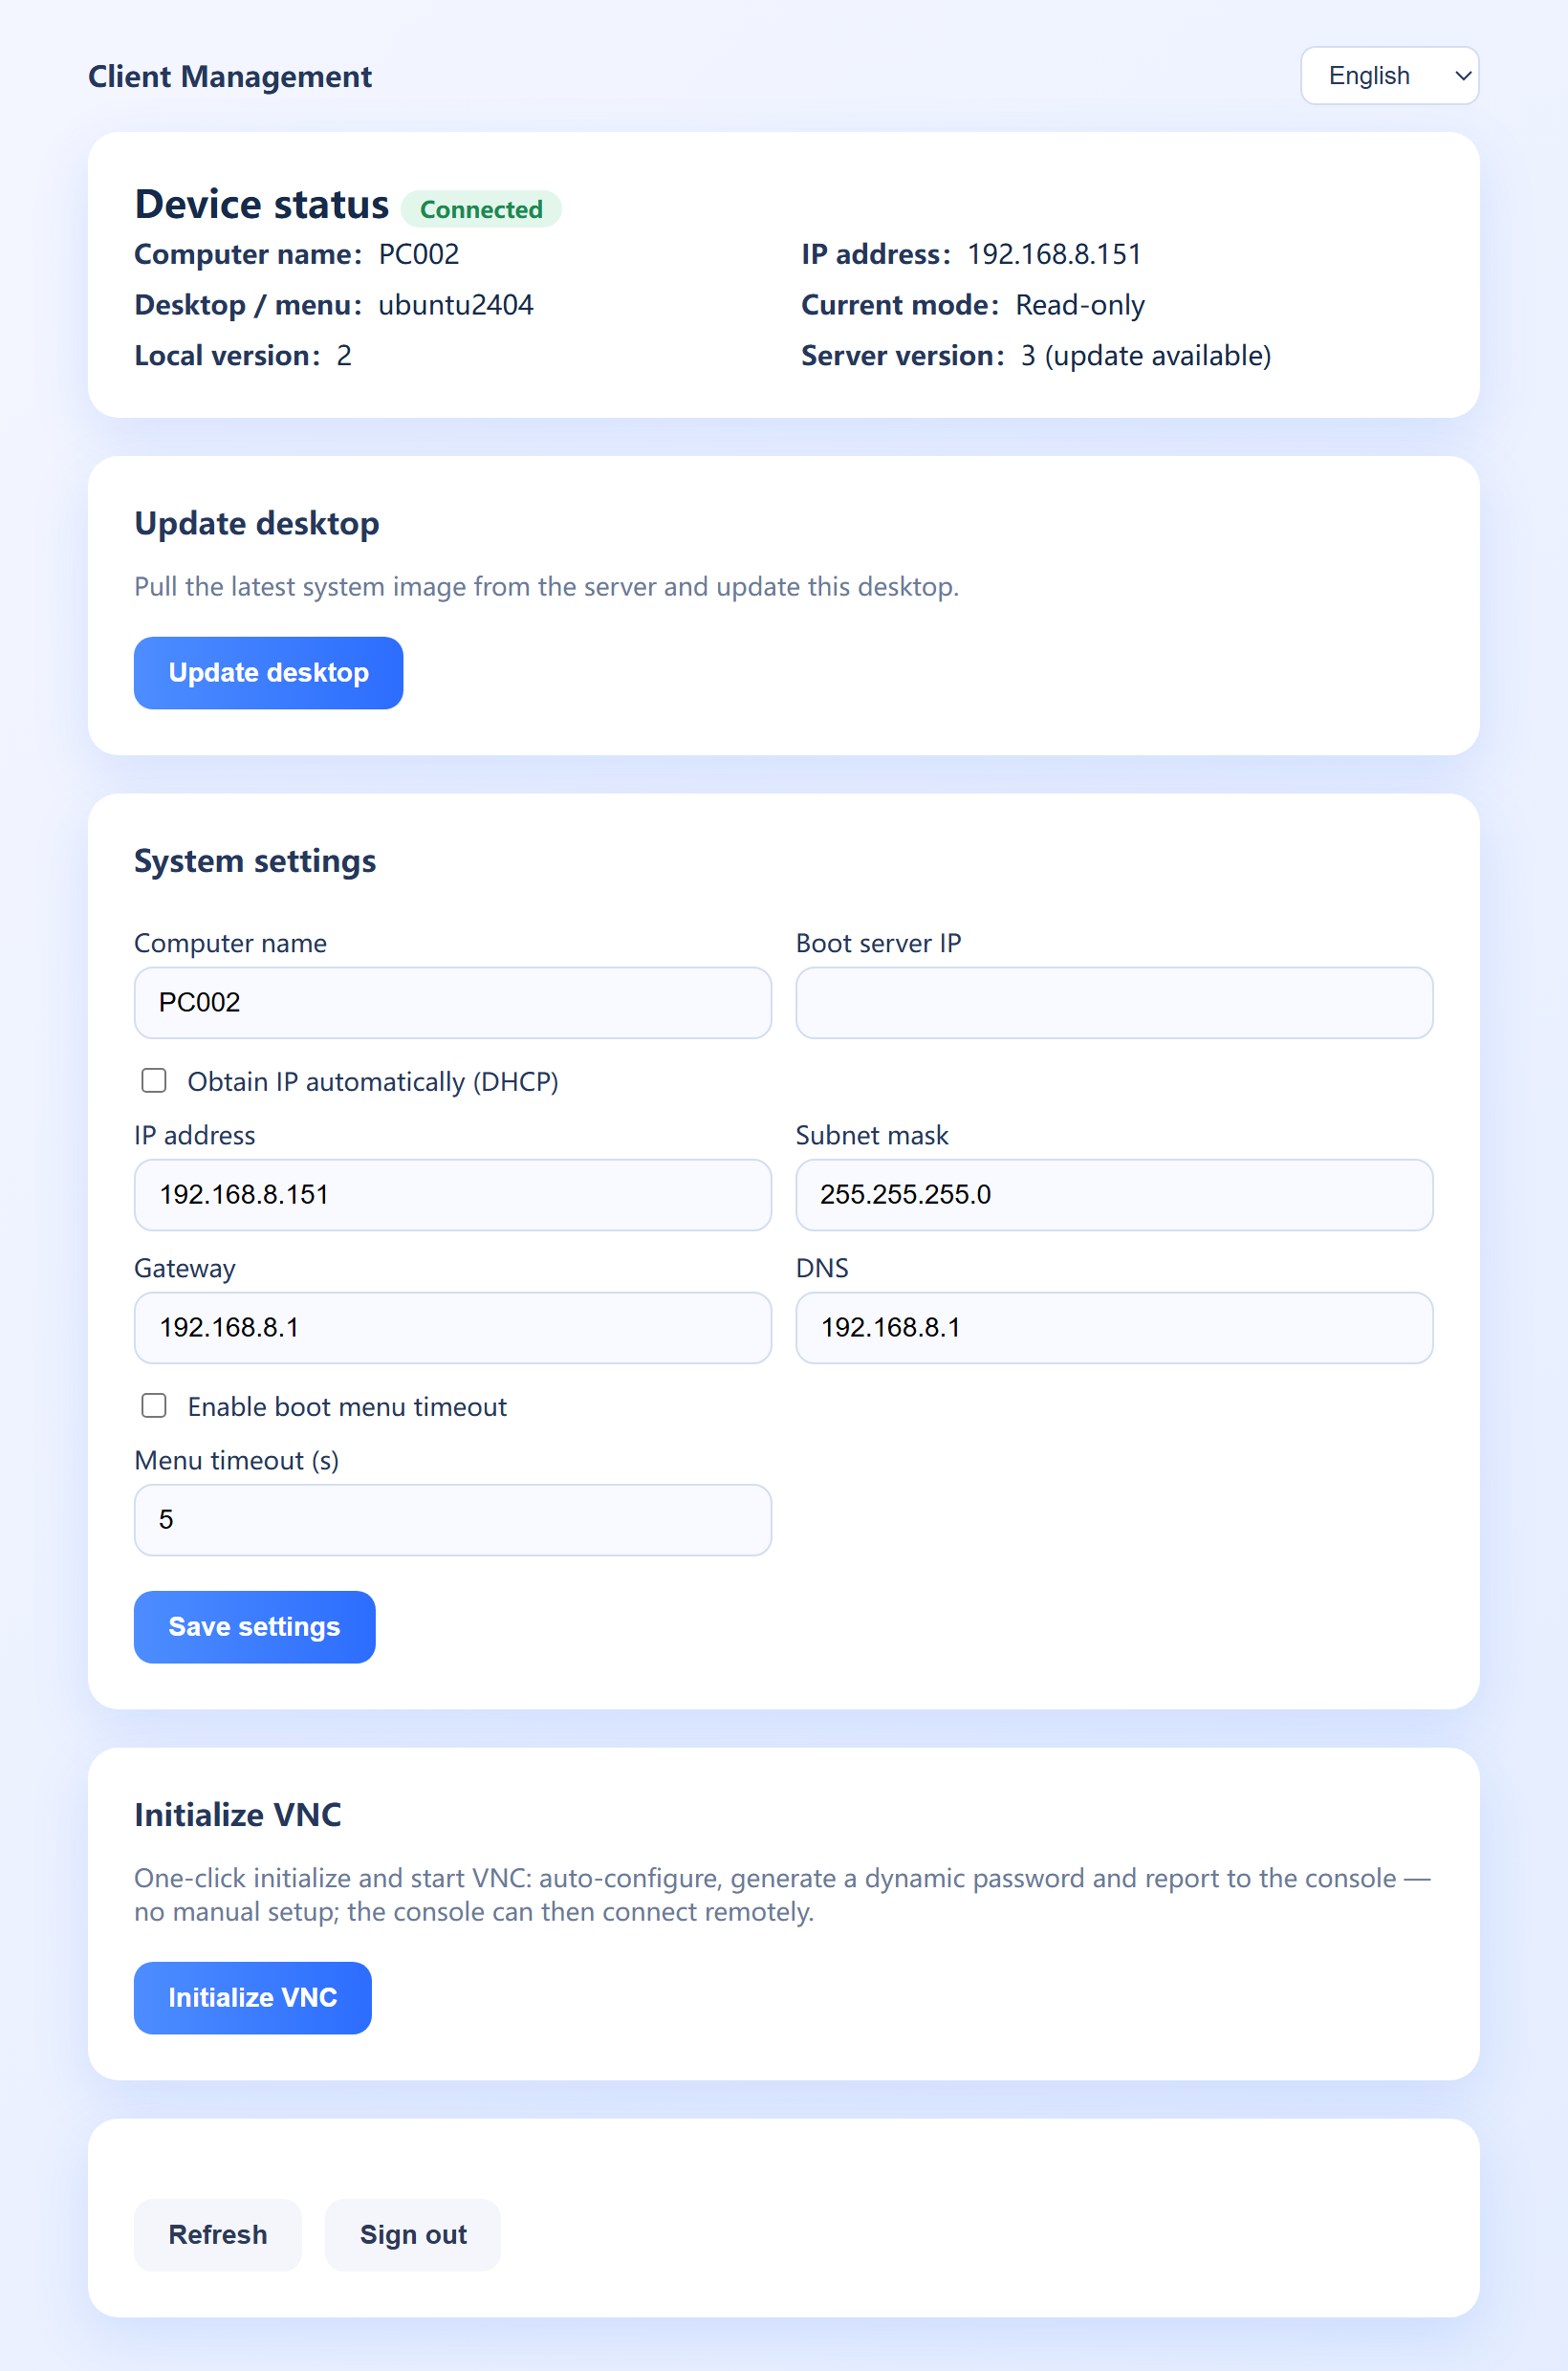
After signing in, "Device status" shows the computer name, IP, current mode, local version and server version.
Click "Update desktop", confirm in the dialog, and the system enters update mode and reboots automatically (this is "entering update").
3) Make changes in update mode
After the reboot the system is in update mode. Any changes you make now (install / remove / update software, change settings, etc.) are recorded.
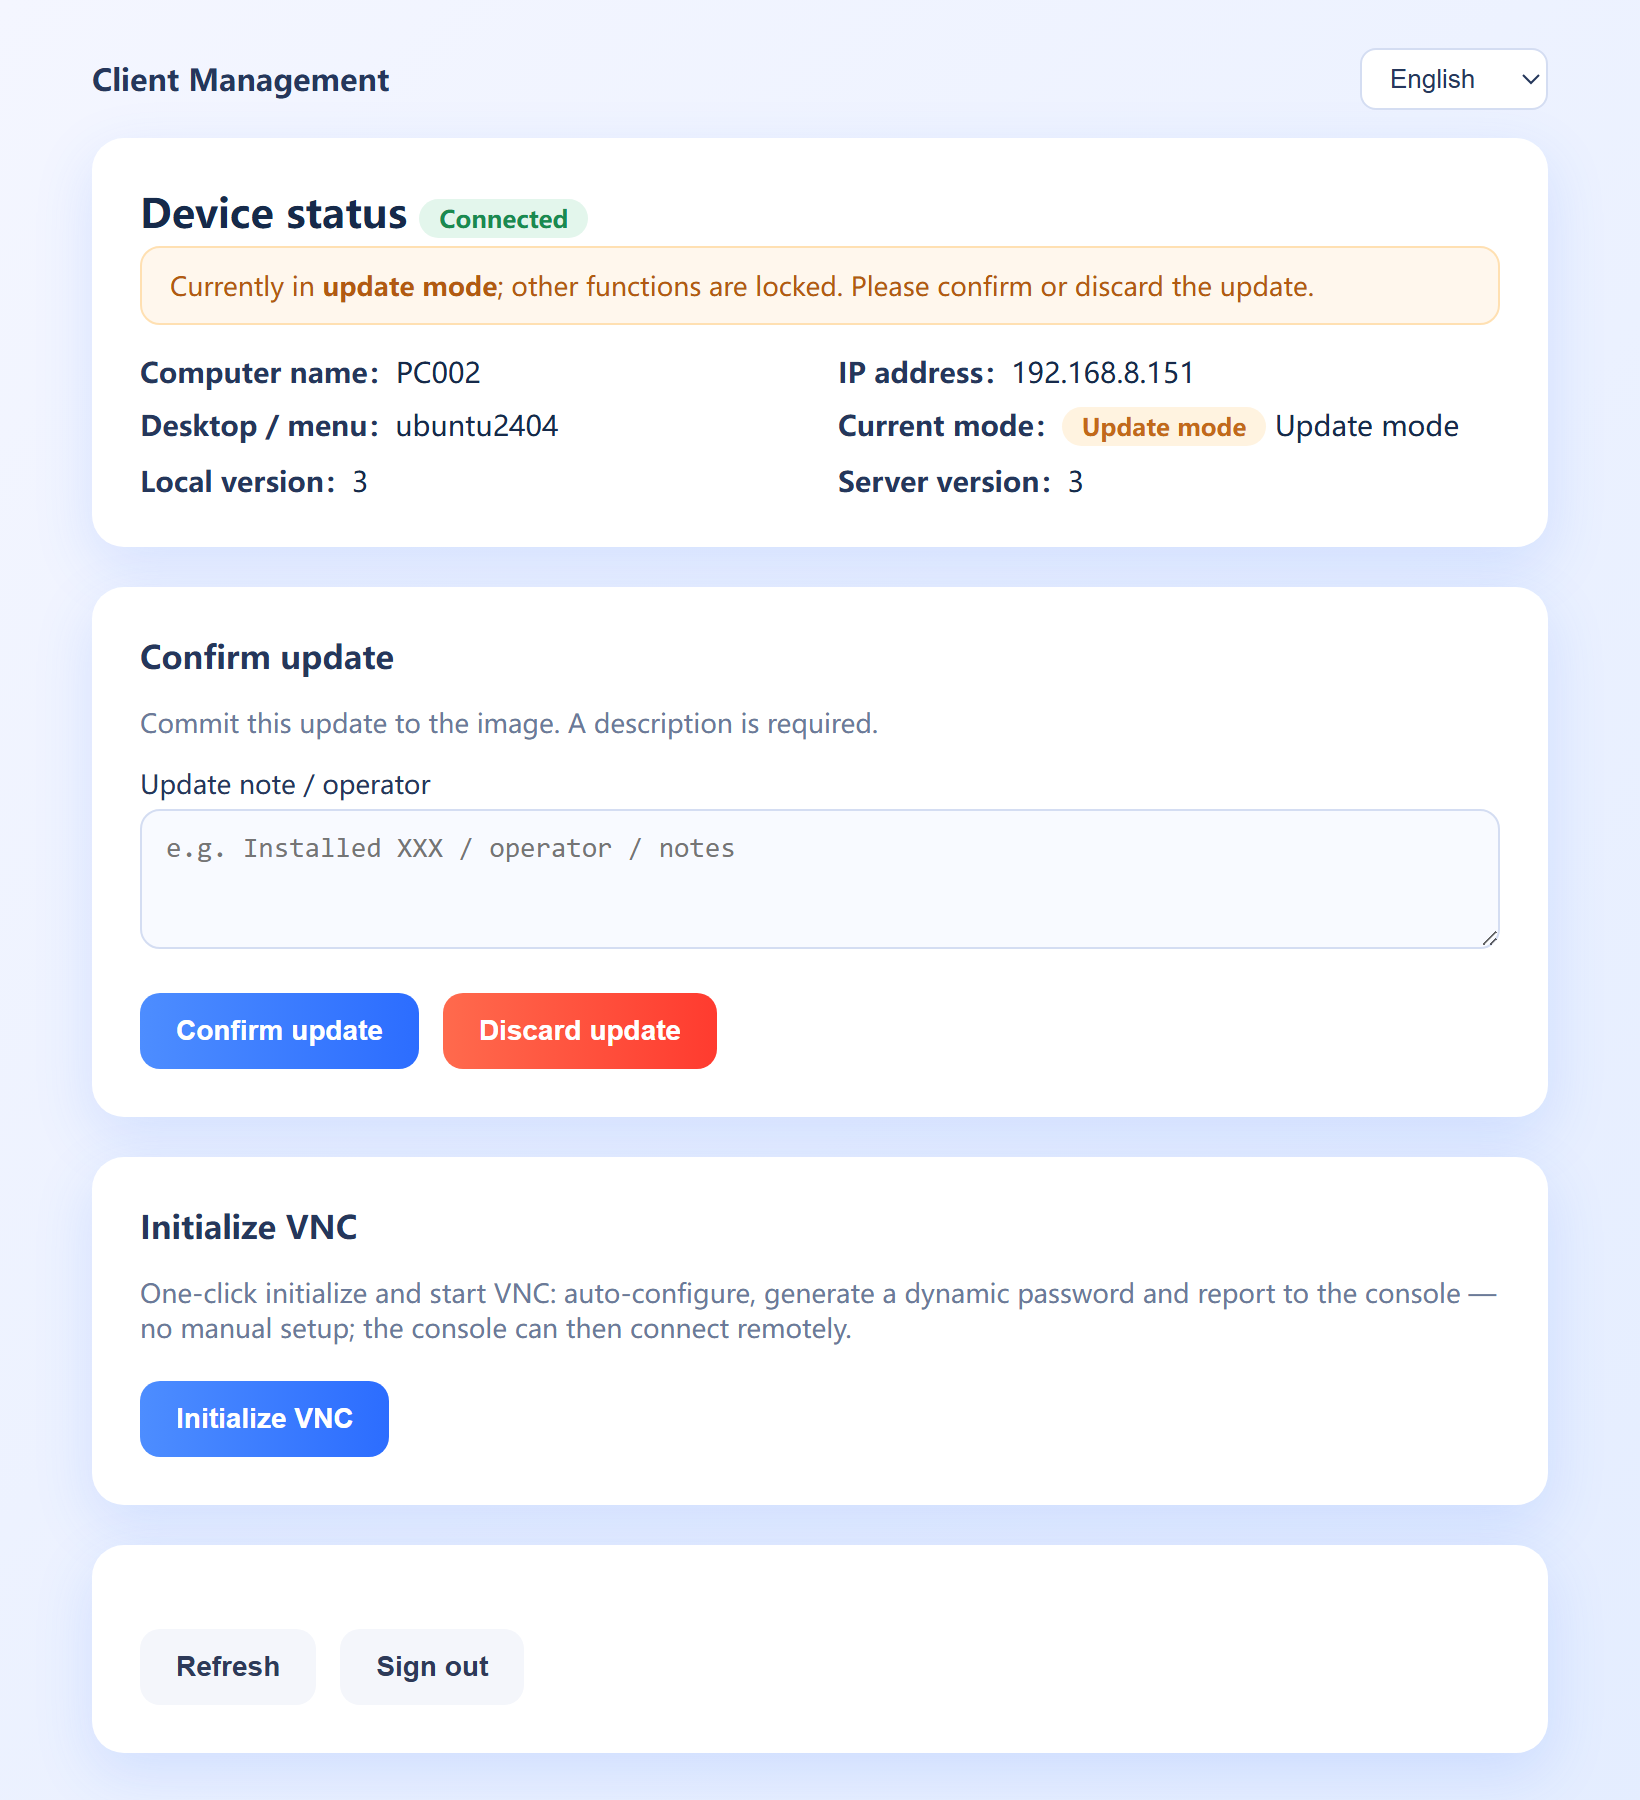
When done, open http://localhost:10888 again. The top of the page shows an update mode lock notice with "Confirm update / Discard update":
4) Commit or discard the update
- Confirm update: enter this change's note in "Update note / operator" (required), then click "Confirm update". The system commits the changes to the image, reboots automatically and pushes the update data.
- Discard update: click "Discard update" to throw away all changes; the system reboots automatically back to the pre-update state.
Notes
The console is reachable only on the client itself (
http://localhost:10888); the login is the server administrator account (default admin / 123456)."Confirm update" requires a note, which keeps a record of every image change.
The system reboots automatically after committing or discarding — save your work first. The update flow is identical on Xinchuang clients.